
When I get to a trailhead, I’m prepared to be packed in for 7 to 10 days. When I get back to the truck a week or more later with my meat, it’s super important that I have a lot of ice left in order to get my meat cooled down and get back home with it.
The best thing I can do is throw a bag or two of ice in the cooler a few days before I leave. That way I know the cooler itself is chilled when I start packing.
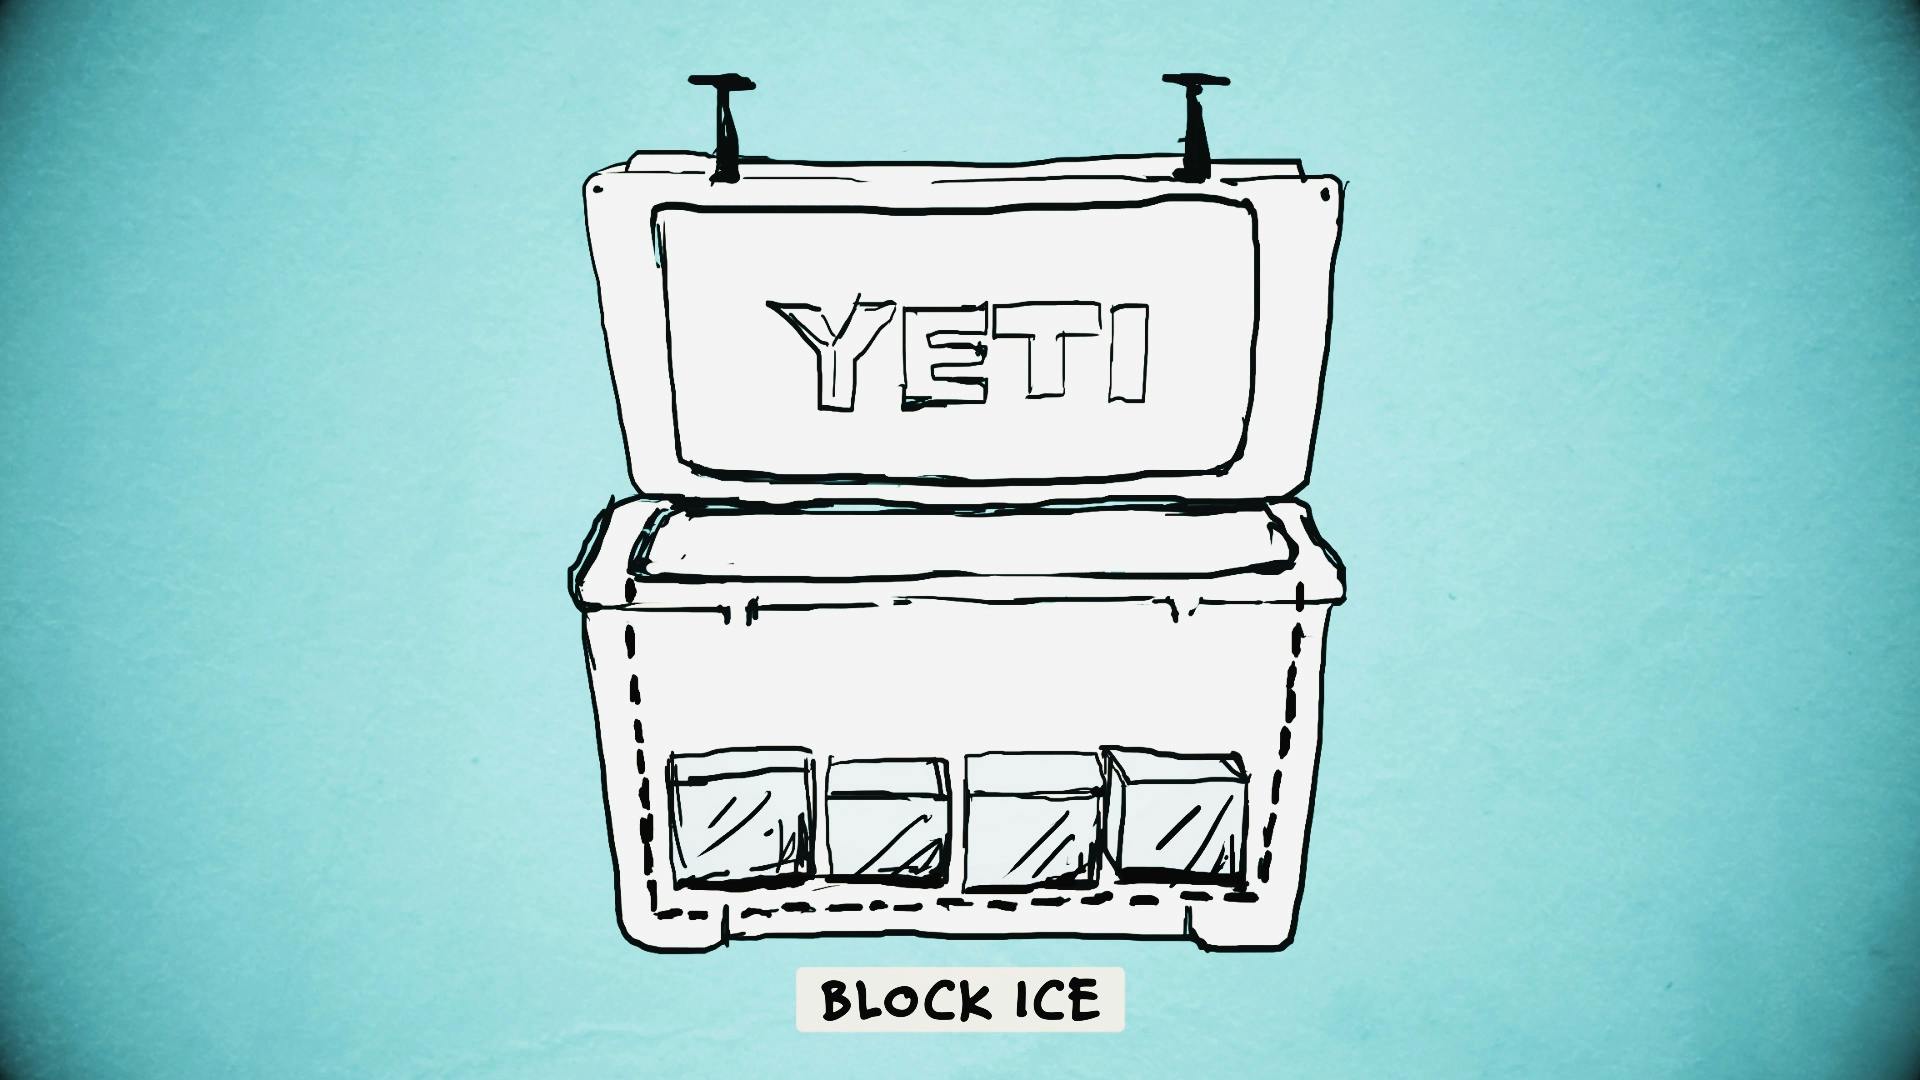
When the inside walls and lid are cool to the touch (this may take a few hours or overnight), toss out the sacrificial bag(s) and add a layer of block ice.
Pro tip: some types of ice are better than others. Block ice will melt at a much slower rate than cubed ice or ice that’s wet (which means it’s already melting). Use block ice for extended amounts of time.
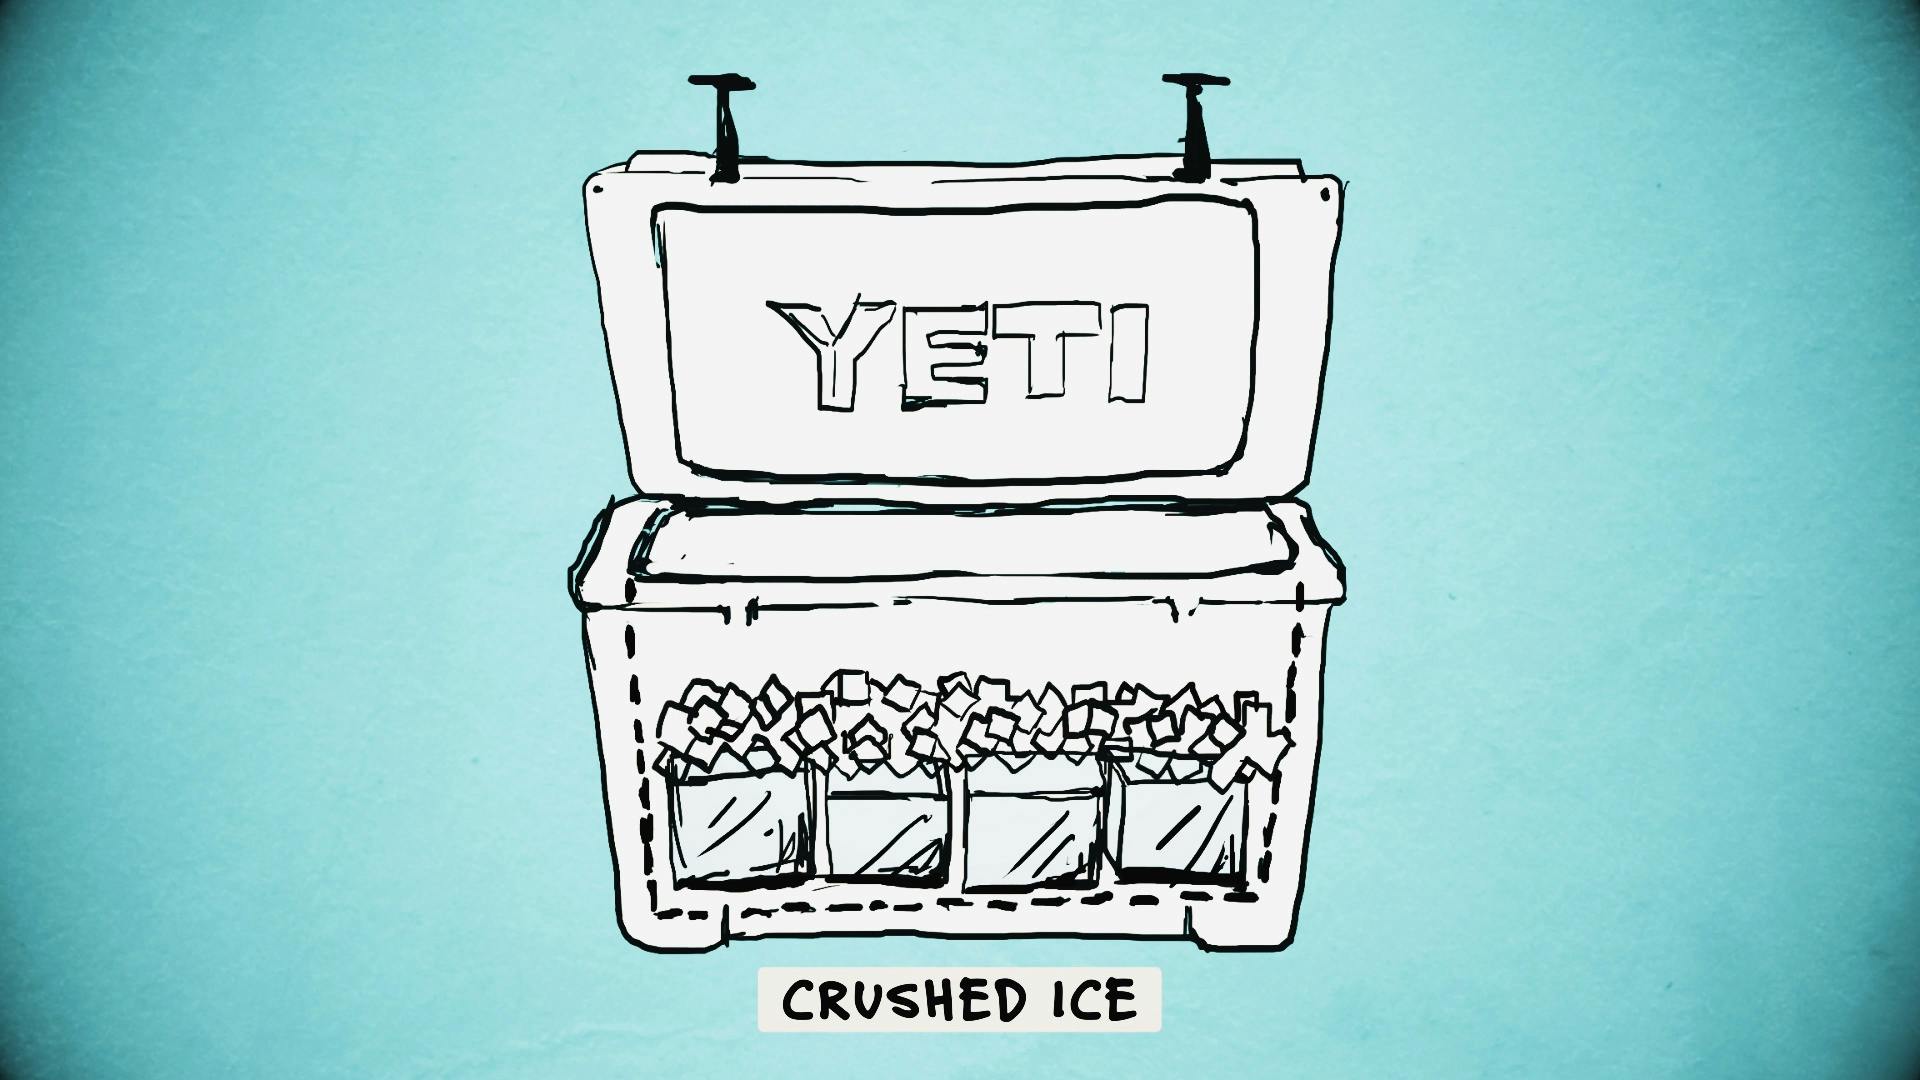
Now, add more ice. This where you’ll use a layer of crushed or bagged ice so it will fill in any space on top of the block ice.
YETI Ice is uniquely developed to have a lower freezing point and will actually re-freeze any melting ice around it. Add a layer of YETI ICE.
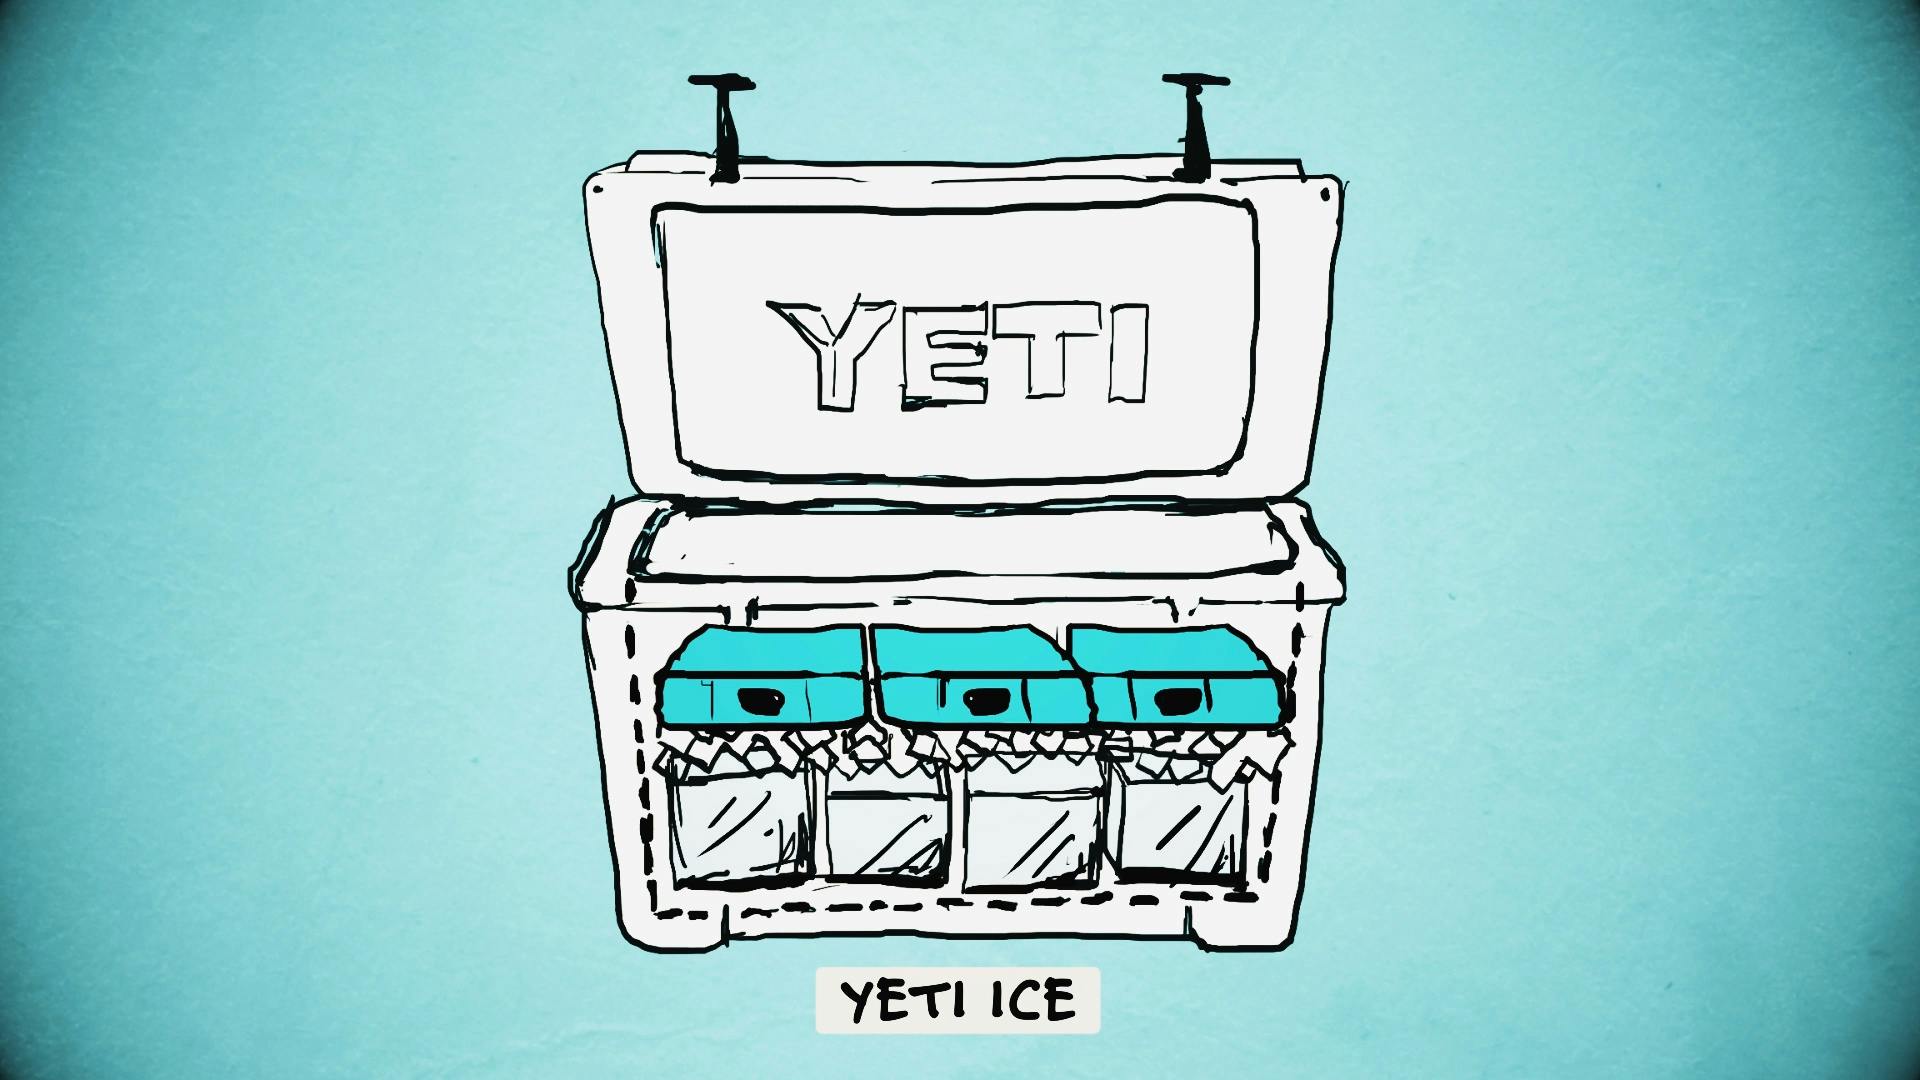
Fill the rest of the cooler with a layer of crushed ice to fill any gaps. Then close and latch the cooler, and don’t open it until you have to.
Now your cooler is prepped for coming home heavy from a backcountry hunt.


